Ghost Pins
Submitted by:
Barbiel
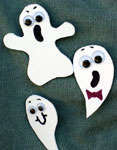 |
1 white craft foam sheet
scissors
black craft pen or Sharpie marker
hot glue or white craft glue
small wiggle eyes, 2 for each pin
pin backs, 1 for each pin
red and blue craft pens or sharpie markers (optional) |
Cut out ghost
shapes from white craft foam. Decorate faces with black pen. A
large, elongated oval makes a fun, spooky mouth. You can use the
black pen to draw eyes on if you wish, or glue on wiggle eyes
with white craft glue.You can draw on eyebrows and even buttons
with your black pen as well. If you like, draw on colorful
bowties with blue and red craft pens. Turn pins over and using
either a hot glue gun or white craft glue, attach the pin backs.
If using white craft glue, allow to dry for at least an hour.
Tips:
For even fancier pins, use tiny cloth bowties and flowers to
decorate your ghosts. These can be found at craft supply stores,
usually in the doll-making aisle.
You can use cardstock or poster board for these pins if you
like, but foam sheets are inexpensive and will last longer as
they don't rip as easily.
Pin backs can be found at in packages at discount department and
craft supply stores. |

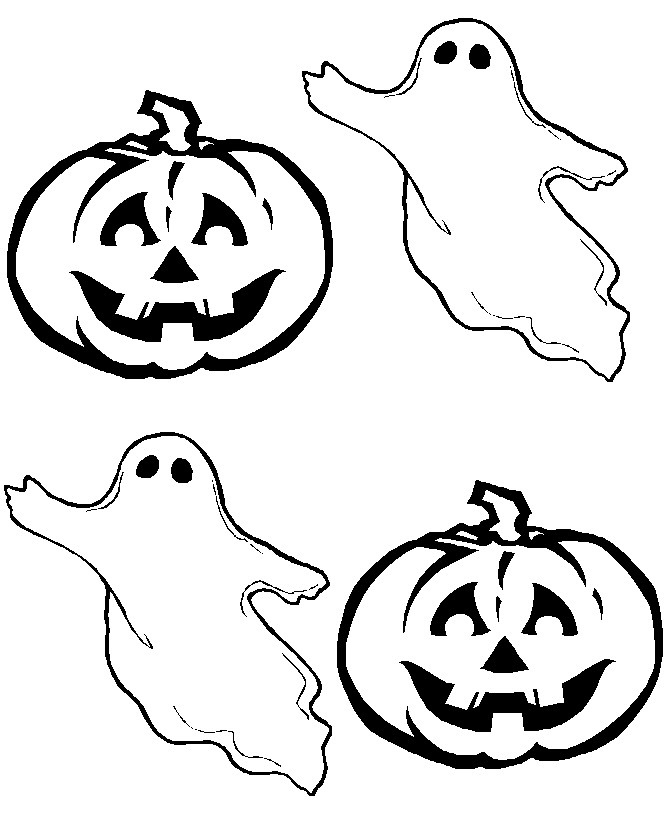
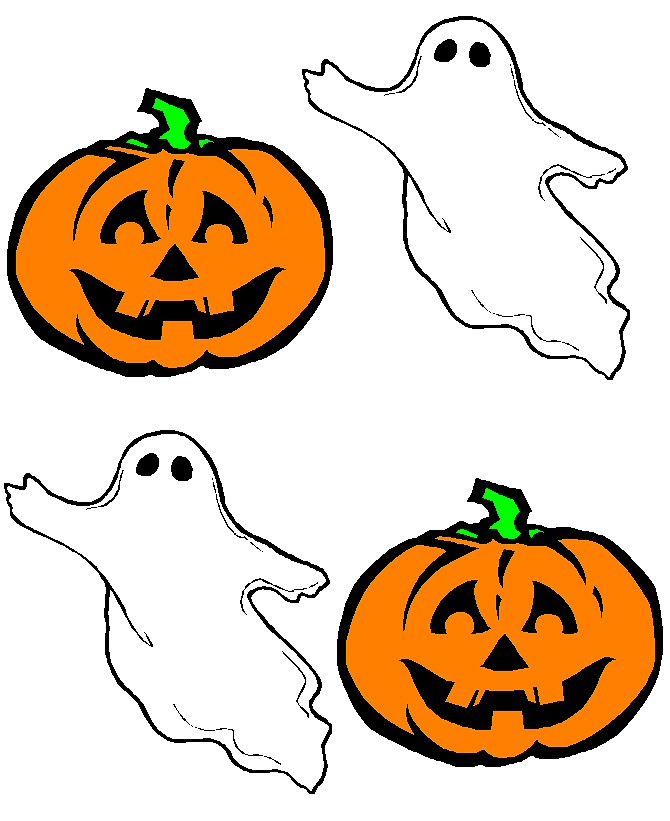
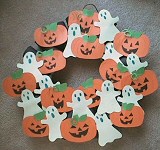
Ghosts and
Jack-O'-Lanterns Wreath
Submitted by:
Barbiel
 |
wire coat hanger
14 to 16 toilette paper rolls
Halloween color paint like white, orange or black (optional)
white and orange construction paper (you could also use craft
foam or white paper painted or colored)
tape, glue and scissors |
Take each
toilette paper roll and cut a slit halfway through. Paint them
in a neutral color (as an example brown) and let them dry. Bend
the coat hanger to form a circle. Using the slits cut halfway
through the rolls, slide each of your toilette paper rolls onto
the hanger to form a big circle of toilette paper rolls. Take a
bit of masking or scotch tape and tape the rolls together (tape
the openings of the rolls on the inside of the circle together -
this will keep the rolls from spinning around while you're
working). If you choose not to do this, the paper leaves will
keep everything from spinning on the finished craft. Cut out
many ghost and pumpkin shapes. Fold the construction paper in
half and in half again and trace the shapes onto the top. Then
cut out the shape from the folded paper and got 4 at a time (one
person can be doing this part while another is assembling the
toilette paper roll wreath base). Draw faces on the ghosts with
black marker. Glue green construction paper leaves and stems on
the pumpkins and draw faces on with marker. Glue all the
characters onto the toillete paper roll base, overlapping so
it's nice and full. Tie a bow on the top if you want to.
Templates:
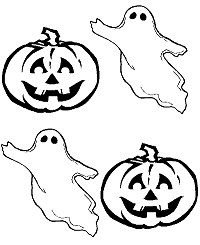
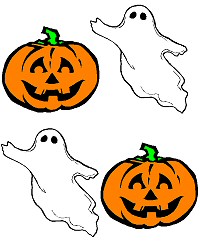
Click graphics to open normal sizes |
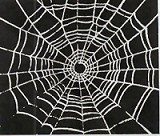
Spider's Web
Submitted by:
Barbiel
 |
a piece of black card
glue
spray can of varnish
spray can of paint |
Make sure the
spider has finished with the web and is not on the web. Spread a
thin layer of glue on the black card. Spray the web with the
paint, gold or white are particularly suitable. Or you could
gently brush on some talcum powder. Bring the glued side of the
card carefully up behind the web. Avoid any sideways movement.
Try to get all parts of the web to stick to the card at once.
Cut the supporting threads at the edges of the web - the spider
will soon make a new one. Spray the web with varnish to form a
protective layer. Hang up your preserved web - it makes an
unusual and attractive picture if you frame it.
Note: It takes practise to get spider's webs to stick
onto the card without distortion. Don't be disappointed if your
first efforts are rather folded or tangled up. |
To submit your favorite recipes to be included in the
Garden of Friendship Recipe Book, please email them to Barbiel
 
Background graphics made especially for the Recipes
Committee of the Garden of Friendship by Valatine
|